 |
| There are many steps we go through before we deliver or ship the finished product to you. For you to understand what happens in our shop and before we get the material, we have prepared a collage of pictures for you. Each picture is a step performed in getting the material ready for the finished product. You may be surprised how far we go to make sure you get the best material from us. |
 |
 |
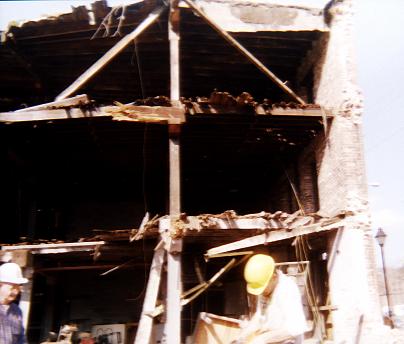
| The very first thing is to get aquatinted with the Demolition Contractors. Let them know what specie and size we are after. As the demolition contractors are taking the building down or just after the building is raised, we go to the site to see first hand what, if any, of the material can be used. These demolition contractors have to know what they are doing. | 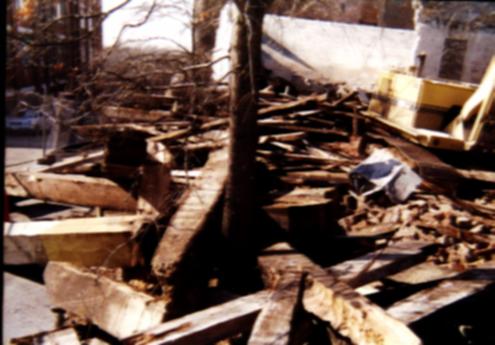 |
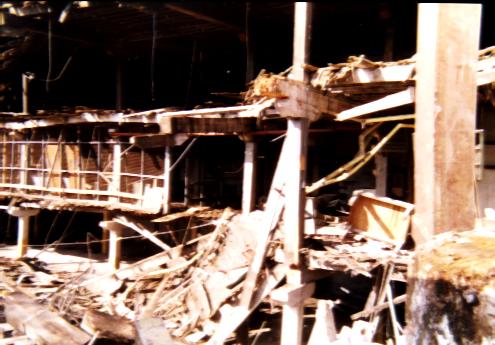
| Would you want to go in a building like this and work? |
 |
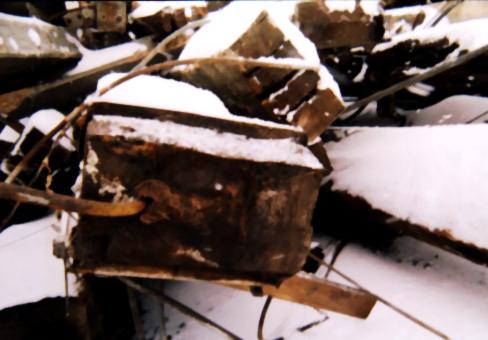 |
After the building is raised, and the material is on the ground it is usually easier to see (actual dimensions of each beam, density of the wood, does the material have blue stain, if there are knots, knot size and frequency, how much hardware will have to be removed, and try to estimate what the waste factor could be). We visit sites year round, in the summer heat, a little snow, even in 5 degree temperature. The only thing that can stop us cold is the safety factor. Most sites have things you need to be careful around, but buildings that are not properly shored up are dangerous. |
 |
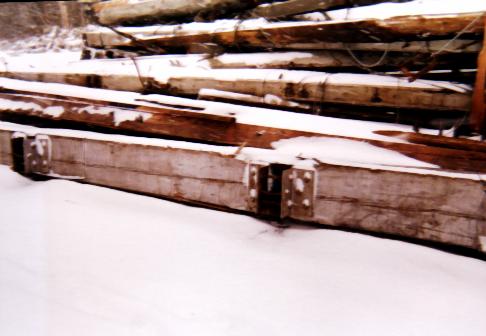
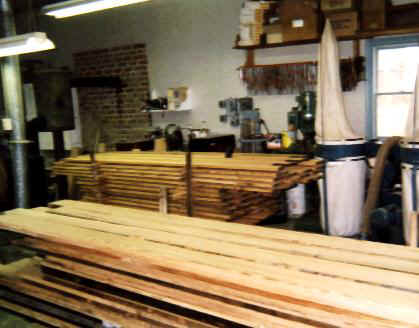
We have the material trucked to our shop and stack it in piles. Then the real works begins. |
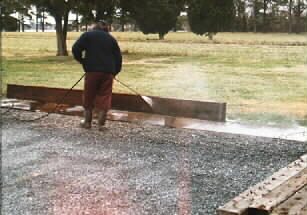
| At times we have to pressure wash the beams before they are cut into blanks. Sometimes the beams are dirty or have paint on them. We pressure wash the beams to remove as much of this as we can. | 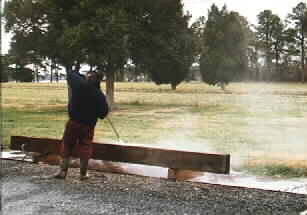 |
 |
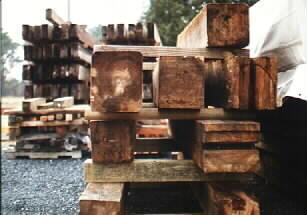 |
The beams are restacked for the next process. |
| Nails can usually be found in beams. With the use of metal detectors we locate the nails that are not visible and pull them out. | 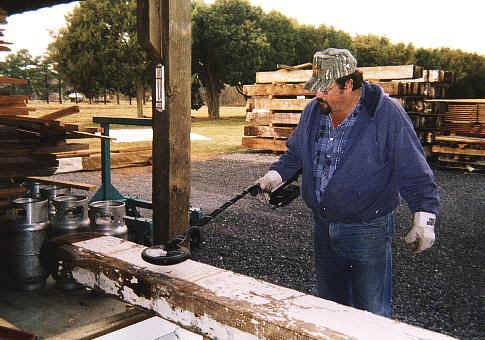 |
 |
 |
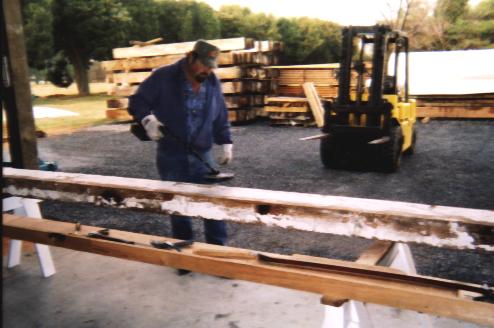
Some beams have too many nails to pull out, so that layer of material is cut off as waste, along with any splits, cracks, checks, or rot that can be cut away. |
 |
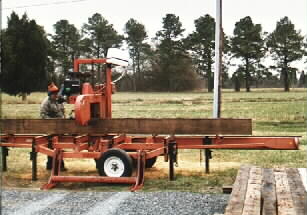
If you look close, you may be able to see how deep the saw is set to cut off the waste material for this beam.
|
 |
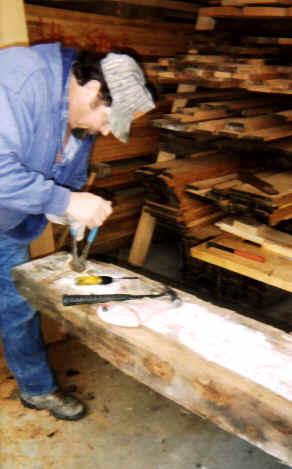 |
Again we go over the beams with a metal detector and locate any nails not visible. One nail not pulled out can damage the saw blade. |
 |
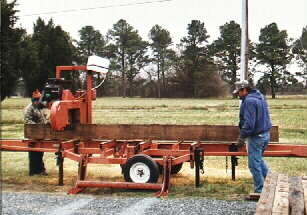
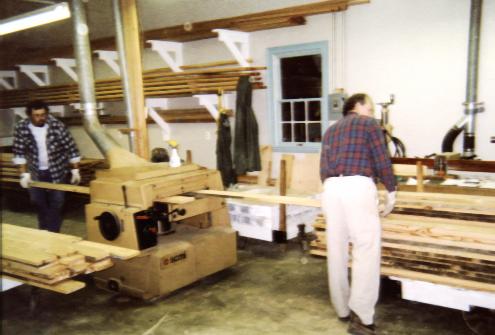
| The forklift is moving the beams in place (either to be pressure washed, to a stack, to an area for pulling nails, or to the saw for the final cutting). |
 |
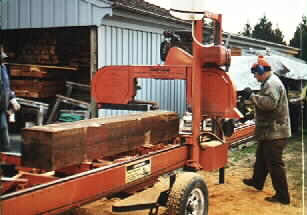 |
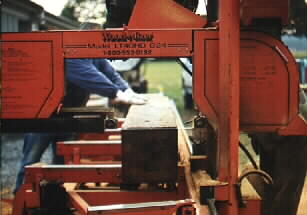
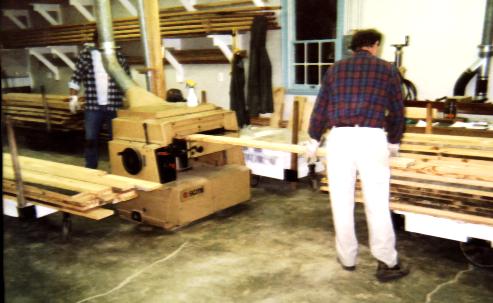
It is finally time to cut the beams into blanks (cut to rough measurements that will eventually become your flooring, balusters, handrail, risers or treads, mantel, doors, etc.). |
 |
 |
 |
The next step is to select just the right amount, widths, and pattern for each job. If you are getting random width, we take your square footage, convert it to board feet, and then to lineal feet. (We make sure you have enough of each width for the area you want to cover.) From the lineal footage we convert back to the square footage you will get. |
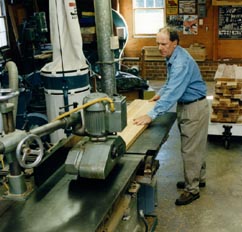 |
The milling process starts with straightening each and every board. |
 |
 |
Putting the material through the machines is the final step to milling the blanks into your finished product (for flooring it means cutting to widths, planning, tongue and grooving, then back relief). |
| This sample of flooring has three widths after the milling process. |
 |
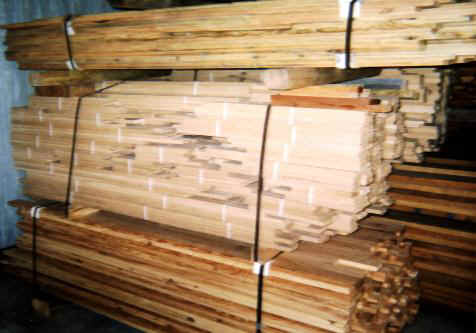 |
If your order is to be shipped to you, we band the flooring or millwork (or sometimes crate it), preparing it for the truck. |
We hope you have a better understanding of the steps we take to ensure you will receive the very best in millwork made from reclaimed materials. One way to do this, is to let us know if you enjoyed this pictorial site. |
[One Room Wide] [Room With A Loft] [We Create] [Every Man] [Steps in Reclaimed Material]
[Home] [Services] [Craftsmanship] [Wood] [Gallery] [Reclaimed] [Contact]